一、基于kind部署Kubernetes集群
新建一台运行CentOS操作系统的虚拟机,将其作为Kubernetes主机
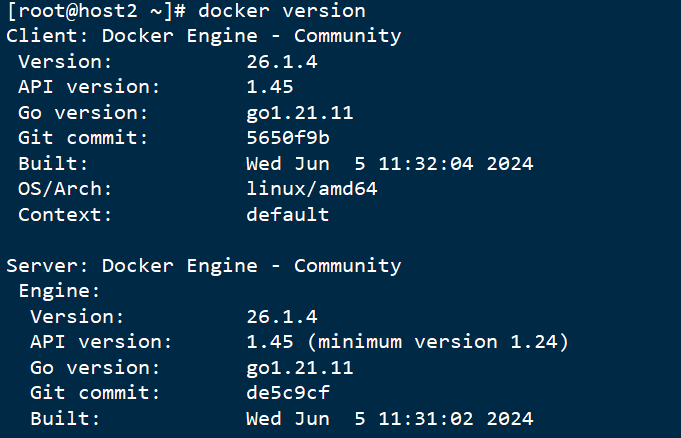
1、安装Docker Engine
powershell
#禁用防火墙
systemctl disable --now firewalld
#将'SELINUX'选项设置为disabled
set -i 's/^SELINUX=enforcing$/SELINUX=disabled/' /etc/selinux/config
#临时禁用SELinux
setenforce 0
#更改主机名为host2
hostnamectl set-hostname host2
#重新执行Shell
bash安装博客:Docker安装
2、安装kind
powershell
# 1. 下载(自动识别架构)
curl -kLo ./kind https://hub.gitmirror.com/https://github.com/kubernetes-sigs/kind/releases/download/v0.22.0/kind-linux-amd64
powershell
# 2. 赋予可执行权限
chmod +x ./kind-linux-amd64
# 3. 移动到系统全局路径
sudo mv ./kindkind-linux-amd64 /usr/local/bin/kind
查看kind版本
powershell
kind version
3、安装kubectl
powershell
curl -kLO "https://dl.k8s.io/release/$(curl -kL -s https://dl.k8s.io/release/stable.txt)/bin/linux/amd64/kubectl"
powershell
# 2. 赋予可执行权限
chmod +x ./kubectl
# 3. 移动到系统全局路径
sudo mv ./kubectl /usr/bin
查看版本:
powershell
kubectl version --client
4、创建Kubernetes集群
(1)创建k8s目录
powershell
mkdir k8s在该目录下定义配置文件:testk8s-config.yaml
文件内容:
powershell
kind: Cluster
apiVersion: kind.x-k8s.io/v1alpha4
name: testk8s         # 集群名称
nodes:
- role: control-plane
  extraPortMappings:    # 端口转发到宿主机
  - containerPort: 80
    hostPort: 80
  - containerPort: 30008
    hostPort: 30008
- role: worker
- role: worker
containerdConfigPatches:        # 给 containerd 打补丁
- |-
  [plugins."io.containerd.grpc.v1.cri".registry.mirrors."docker.io"]
    endpoint = [
      "https://docker.m.daocloud.io",
      "https://hub-mirror.c.163.com",
      "https://mirror.baidubce.com",
      "https://ccr.ccs.tencentyun.com",
      "https://registry.docker-cn.com"
    ]

  # 如需更多加速器,继续追加:
  # [plugins."io.containerd.grpc.v1.cri".registry.mirrors."gcr.io"]
  #   endpoint = ["https://gcr.mirrors.ustc.edu.cn"]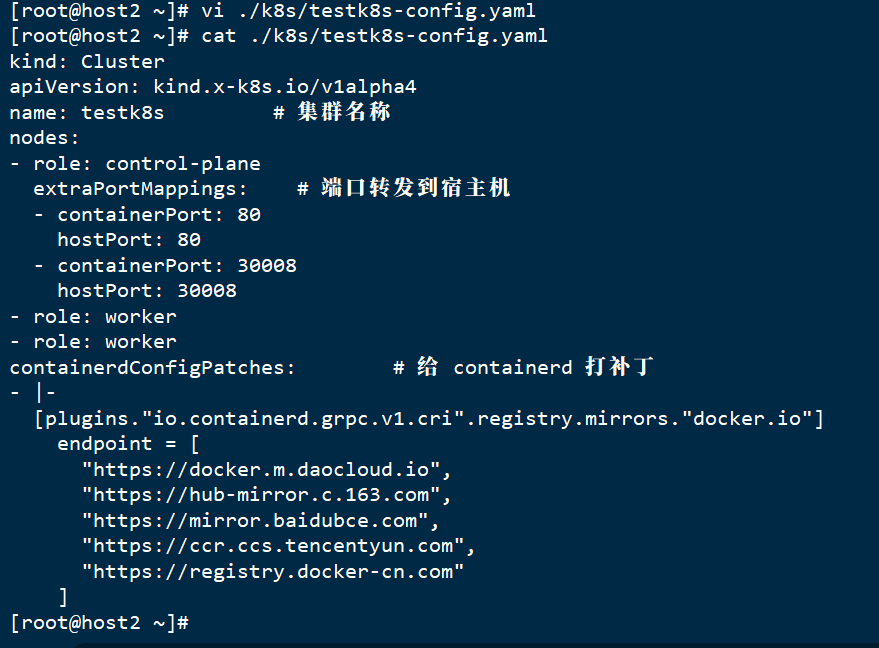
(2)创建Kubernetes集群
powershell
kind create cluster --config k8s/testk8s-config.yaml 若报错:

需要升级内核版本:参考博客
升级完重启进入失败:解决方法
查看集群列表
powershell
kind get clusters
二、在Kubernetes集群中运行并发布应用程序
1、创建Deployment对象
(1)先将当前目录切换到k8s目录
(2)在k8s目录下编辑定义Deployment对象的配置文件ngix-deploy.yaml,文件内容:
powershell
apiVersion: apps/v1          # 版本号
kind: Deployment             # 类型
metadata:
  name: nginx-deploy         # Deployment 自身名称
spec:
  replicas: 3                # 副本数量
  selector:                  # 选择器,指定该控制器管理的 Pod
    matchLabels:
      app: nginx-pod
  template:                  # Pod 模板
    metadata:
      labels:                # Pod 的标签
        app: nginx-pod
    spec:
      containers:            # 容器列表(本例仅定义一个容器)
      - name: nginx          # 容器名称
        image: nginx:1.14.2  # 容器所用的镜像
        ports:
        - containerPort: 80  # 容器需要暴露的端口
          name: nginx-port
(3)创建Deployment对象
powershell
kubectl apply -f nginx-deploy.yaml(4)查看该对象每个Pod的IP地址
powershell
kubectl get pods -o wide2、创建Service对象
(1)创建定义Service对象的配置文件ngix-service.yaml
powershell
apiVersion: v1
kind: Service
metadata:
  name: nginx-svc   # Service 名称
spec:
  type: ClusterIP       # 也可改为 NodePort 或 LoadBalancer
  selector:
    app: nginx-pod      # 与 Deployment 中 Pod 标签保持一致
  ports:
  - port: 8080            # Service 对外暴露的端口
    targetPort: 80      # Pod 内容器监听的端口
    nodePort: 30008
(2)基于该配置文件创建Service对象
powershell
kubectl apply -f nginx-service.yaml(3)查看该Service对象的地址和端口
powershell
kubectl get service nginx-svc(4)测试从Kubernetes集群内部访问Service发布的应用程序
powershell
docker exec -it testk8s-control-plane bash(5)测试从Kubernetes集群外部访问Service发布的应用程序
powershell
curl 127.0.0.1:30008(6)查看该Service对象的详细信息
powershell
kuberctl describe service nginx-svc