文章目录
org.openpnp.vision.pipeline.stages.FilterContours
功能
根据轮廓面积对轮廓进行过滤。它从前序阶段获取轮廓列表(List),计算每个轮廓的面积,只保留面积在指定范围内的轮廓,输出过滤后的轮廓列表。
该阶段常用于去除噪声、小斑点或过大干扰区域,只保留感兴趣的目标轮廓,以便后续处理(如拟合椭圆、旋转矩形等)。
参数
| 参数 | 类型 | 必需 | 说明 |
|---|---|---|---|
contoursStageName |
String |
否 | 指定流水线中提供轮廓列表(List<MatOfPoint>)的那个阶段的名称。如果为空或找不到对应结果,则跳过处理。 |
minArea |
double |
是 | 轮廓的最小面积阈值。只有面积 ≥ minArea 的轮廓才被保留。设置为 -1 表示无下限。 |
maxArea |
double |
是 | 轮廓的最大面积阈值。只有面积 ≤ maxArea 的轮廓才被保留。设置为 -1 表示无上限。 |
propertyName |
String |
否 | 用于动态覆盖 minArea 和 maxArea 的属性名前缀。格式:propertyName.minArea、propertyName.maxArea。默认值为 "FilterContours"。 |
例子
生成测试图片
bash
import cv2
import numpy as np

# 创建白色背景 (600x600)
img = np.ones((600, 600, 3), dtype=np.uint8) * 255

# 绘制三个不同面积的黑色圆形(实心)
# 小圆 (面积 ≈ π*20² ≈ 1256)
cv2.circle(img, (150, 150), 20, (0, 0, 0), -1)
# 中圆 (面积 ≈ π*40² ≈ 5026)
cv2.circle(img, (300, 300), 40, (0, 0, 0), -1)
# 大圆 (面积 ≈ π*70² ≈ 15394)
cv2.circle(img, (500, 500), 70, (0, 0, 0), -1)

# 添加一个极小的噪声点(面积很小,用于演示过滤)
cv2.circle(img, (100, 500), 3, (0, 0, 0), -1)

# 保存图片
cv2.imwrite("filter_test.png", img)
print("测试图片已生成: filter_test.png (包含小圆、中圆、大圆和一个小噪点)")
cv-pipeline config
bash
<cv-pipeline>
   <stages>
      <cv-stage class="org.openpnp.vision.pipeline.stages.ImageRead" name="read" enabled="true" file="D:\3rd\openpnp_prj\openpnp-official\openpnp-test-images\my_test\filter_test.png" color-space="Bgr" handle-as-captured="false"/>
      <cv-stage class="org.openpnp.vision.pipeline.stages.ConvertColor" name="gray" enabled="true" conversion="Bgr2Gray"/>
      <cv-stage class="org.openpnp.vision.pipeline.stages.Threshold" name="thresh" enabled="true" threshold="127" auto="false" invert="true"/>
      <cv-stage class="org.openpnp.vision.pipeline.stages.FindContours" name="contours" enabled="true" retrieval-mode="External" approximation-method="Simple"/>
      <cv-stage class="org.openpnp.vision.pipeline.stages.ImageRecall" name="recall" enabled="true" image-stage-name="read"/>
      <cv-stage class="org.openpnp.vision.pipeline.stages.DrawContours" name="draw" enabled="true" contours-stage-name="contours" thickness="2" index="-1">
         <color r="255" g="0" b="0" a="255"/>
      </cv-stage>
      <cv-stage class="org.openpnp.vision.pipeline.stages.ImageWrite" name="save" enabled="true" file="output_one_contour.png"/>
   </stages>
</cv-pipeline>
效果
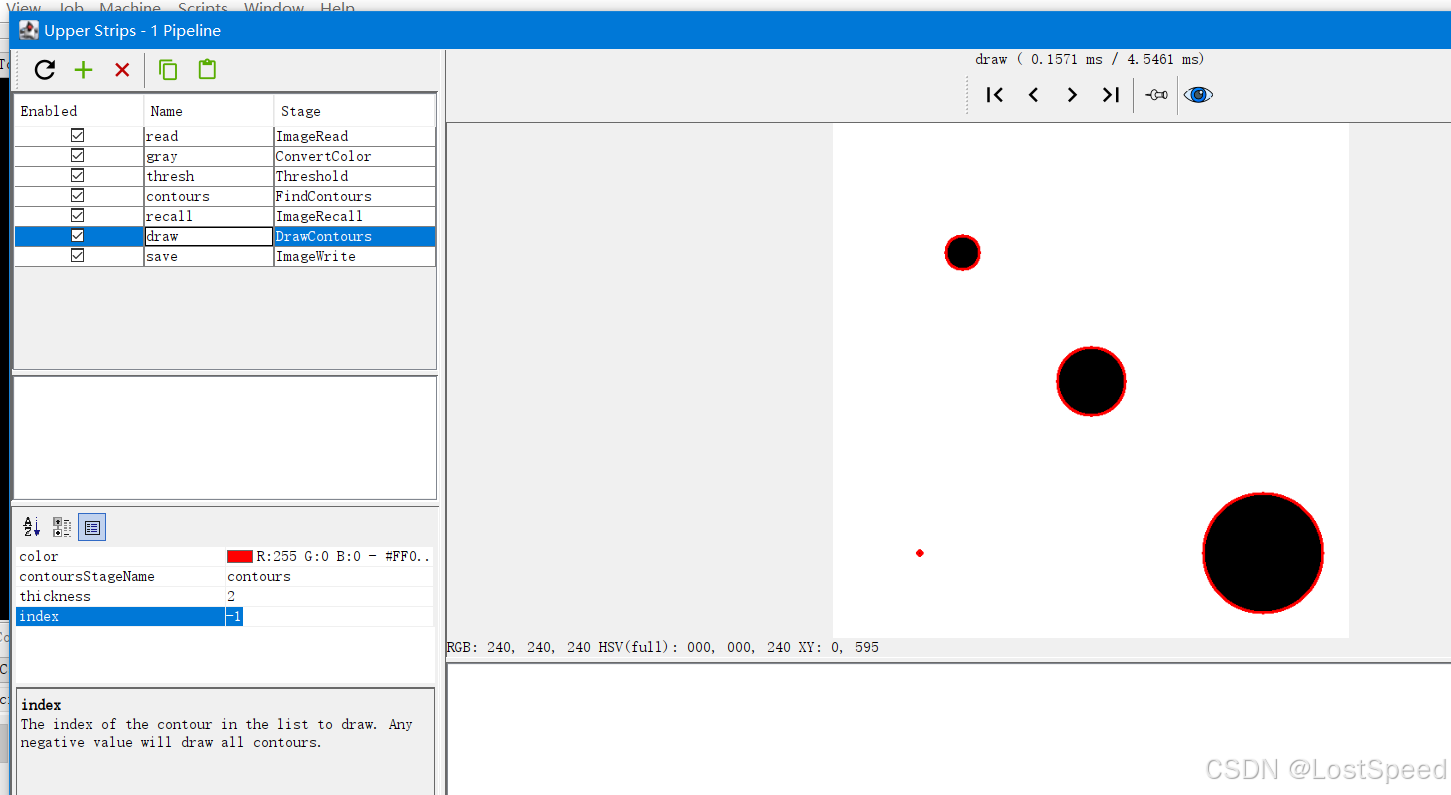
index = -1, 圈住所有目标
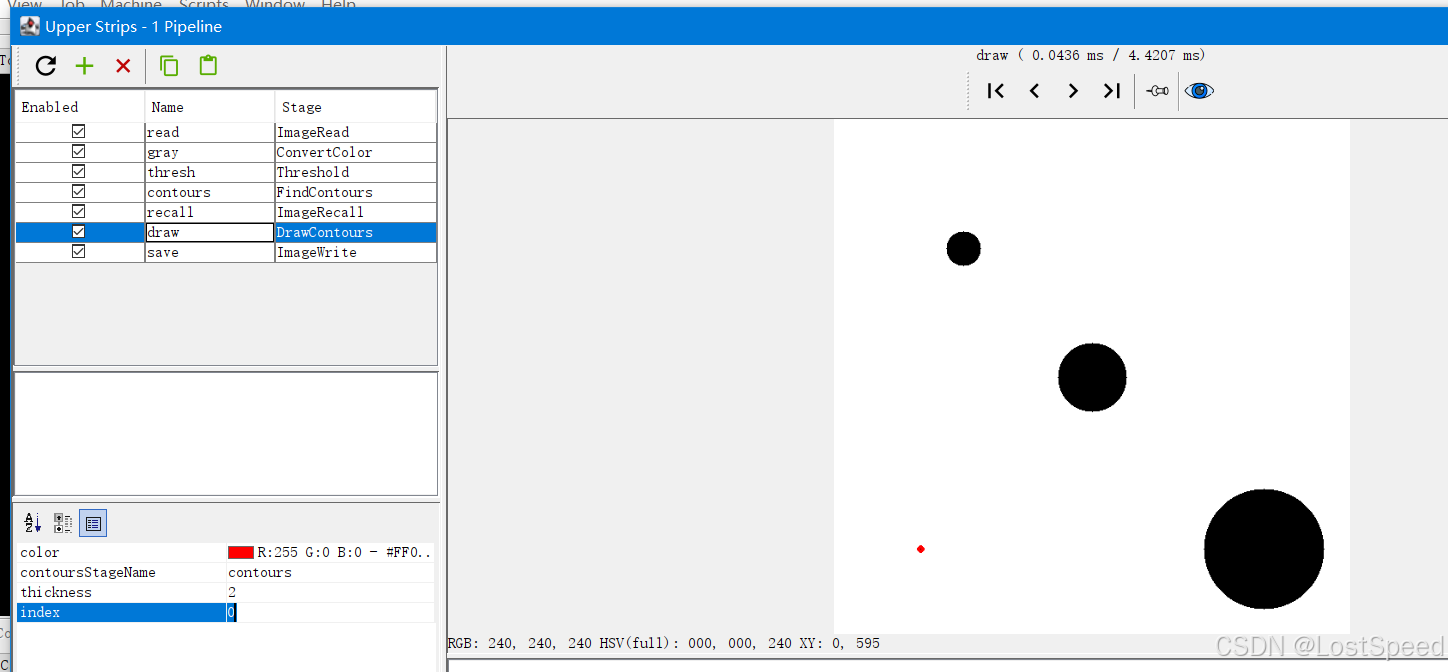
index = 0 圈住第1个目标。
index = n - 1, 圈住最后一个目标
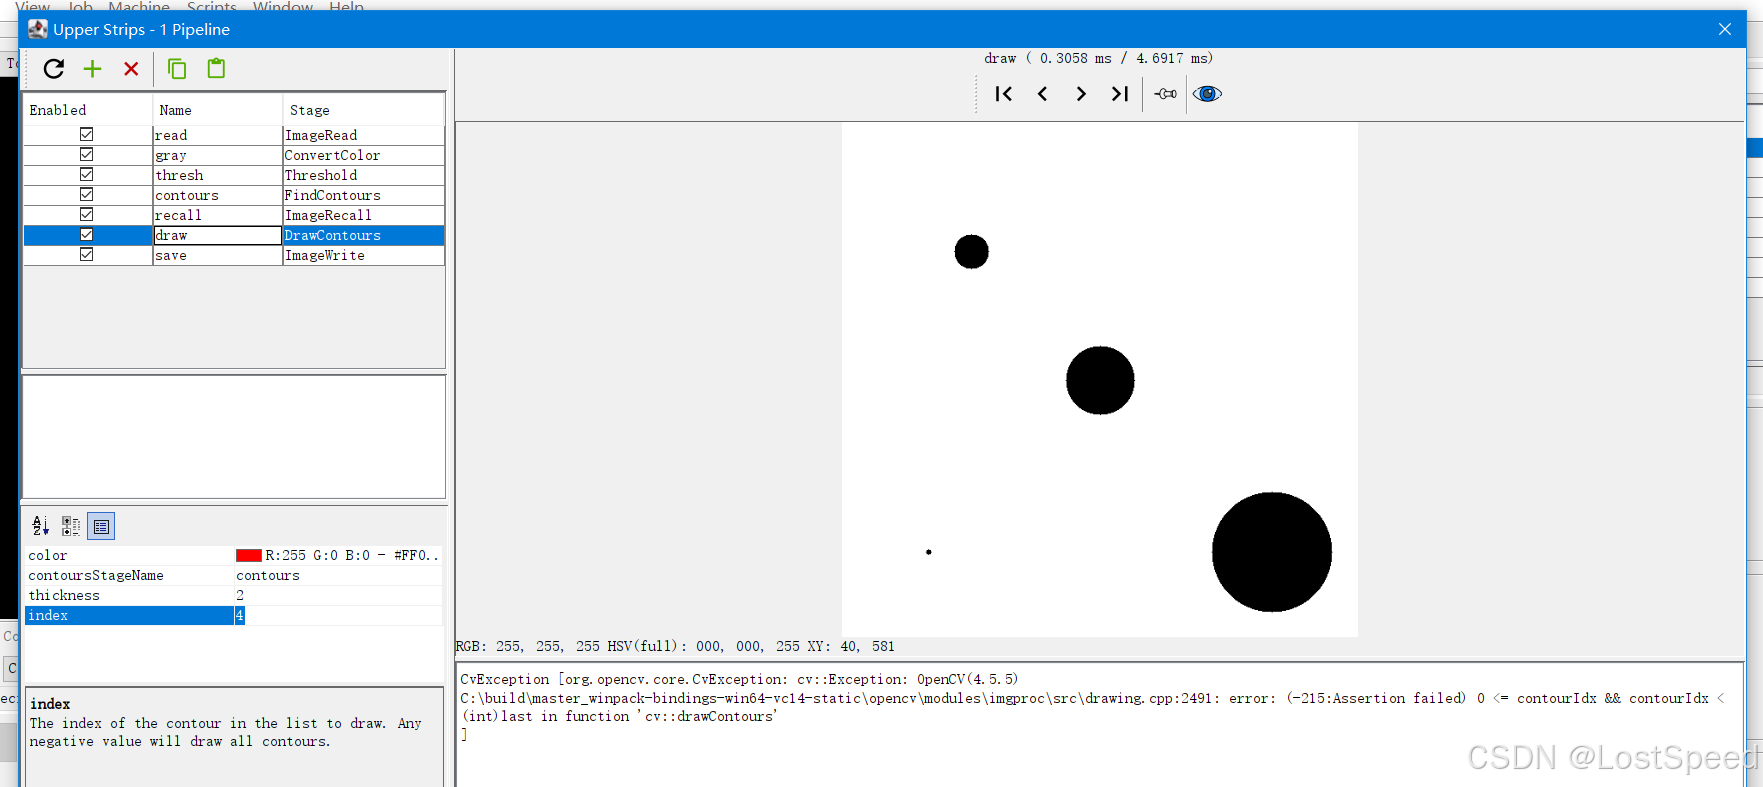
index >= n, 报错